· Ali Pinch · build-log · 6 min read
How I Built a Recipe App as a Non-Technical Designer
How a non-technical designer built a recipe app using context engineering. Full process from prototyping to deployment with Claude Code.

As a Conversation Designer and Prompt Designer, I spend most of my time thinking about how humans communicate with AI. Recently, I wanted to test whether those same skills could translate into building an actual product. The answer: yes, but it requires a different approach to working with LLMs.
Defining Context Engineering
Context engineering is the practice of carefully structuring the information you provide to AI models to get better outputs. It’s not about writing the perfect prompt on the first try—it’s about the iterative process of understanding what the model needs, refining your input, and asking clarifying questions.
Charlie Sutton, Atlassian’s Chief Design Officer, said something that stuck with me:
We shouldn’t treat AI as our slave, but as our co-collaborator.
That distinction matters. The best results come from treating LLMs like a skilled colleague who needs proper context, not a tool you just throw commands at.
As a non-technical person, context engineering has become essential. It’s the back and forth. Asking the LLM what information it needs. Debugging by understanding why something isn’t working. Getting clarity on the “how” before jumping to the “what.”
Vibe Coding vs. Context Engineering
If you’ve heard of “vibe coding” (the practice of rapidly prototyping with AI without deep technical knowledge) you might wonder how it differs from context engineering. The answer: vibe coding is the what, context engineering is the how.
Vibe coding lets non-technical people build things quickly. But without context engineering, it often leads to endless iteration loops, mysterious bugs, and products that barely work. Context engineering is what turns vibe coding from chaotic experimentation into intentional product development.
Building Yumtime: The Process
I wanted to build a recipe management app with meal planning, shopping lists, and recipe search. Here’s how context engineering shaped each phase.
Phase 1: Visual Planning
I started with a Miro board to map out features, user flows, and technical requirements. This wasn’t just organisation, it created the mental model I’d need for effective AI collaboration later.
Phase 2: Technical Discussion
Before building anything, I used Claude to discuss the tech stack. We landed on React + TypeScript + Vite for the frontend, Tailwind CSS for styling, and localStorage for data persistence.
The key was asking questions:
- Why React over vanilla JavaScript?
- What’s the benefit of TypeScript here?
- What are the limitations of localStorage?
Understanding these trade-offs made me a better collaborator and prepared me for debugging later.
Phase 3: Prototyping First
Instead of jumping straight to development, I prototyped in Reforge Build. This step has saved me from countless failed experiments where I skipped validation and went straight to building.
Following Ravi Mehta’s Product Thinking approach, I started with structured data. Claude and I engineered a prompt to generate the complete JSON schema:
The JSON Schema Prompt:
I'm building a prototype for a recipe database app called yumtime. Using JSON, generate a prototype of:
- 6 recipes in My Recipes (with full ingredient lists, instructions, prep/cook times, and tags)
- A meal inspiration search with 3 sample results
- Pantry inventory with 4-5 ingredients
- A shopping list with 10 items, categorised by produce, dairy, meat, pantry, and other

For each recipe, search Unsplash and add real food photography image URLs to the imageUrl field.
I integrated Unsplash MCP for images because LLM-generated images aren’t reliable yet. This gave me real food photography without manual sourcing.
I then iterated in Reforge, refining UI components and getting the experience right before moving to development.
Phase 4: Development with Claude Code
With a validated prototype and clear requirements, I moved to Claude Code. This is where context engineering really mattered. Instead of “build a recipe app,” I created a comprehensive brief:
The Development Prompt:
# Yumtime Recipe App - Full Stack Project
Build a recipe management web application called "yumtime" - a centralized way to manage recipes, get meal inspiration, and plan cooking.
## Tech Stack
- Frontend: React + TypeScript + Vite
- Styling: Tailwind CSS + shadcn/ui components
- Storage: localStorage (prototype)
- External API: Edamam API (for recipe search)
- Image Search: Unsplash API (for recipe images)
## Core Features
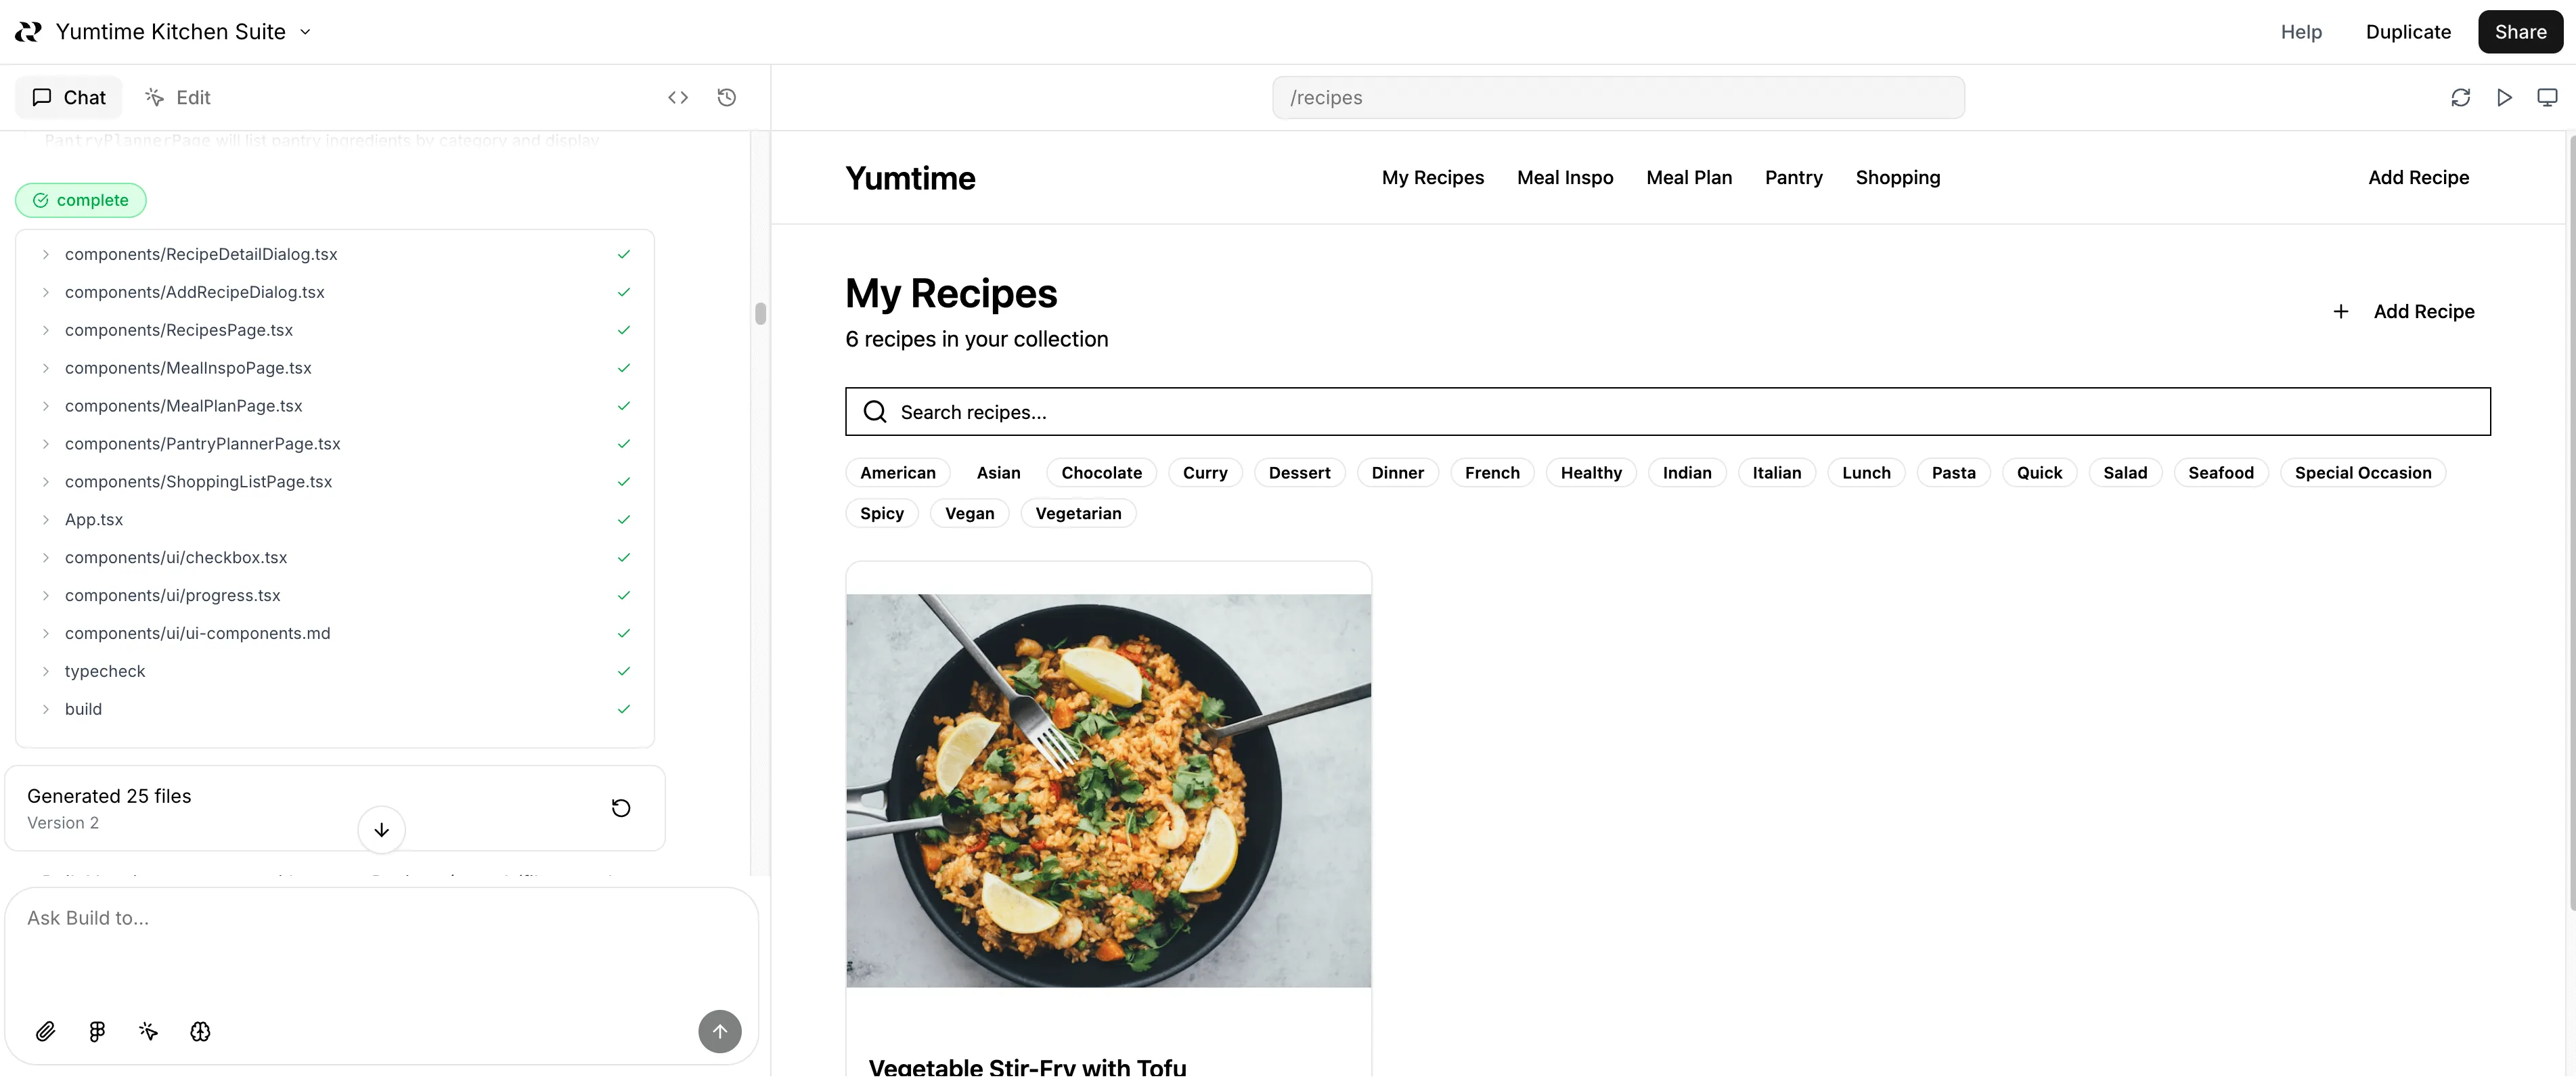
### 1. My Recipes (Recipe Management)
- Create, edit, and delete custom recipes
- Recipe cards in a grid layout with images
- Click to view full recipe details in a modal
- Each recipe includes: name, hero image, servings, prep/cook time, ingredients list, instructions, tags
### 2. Meal Inspo (Recipe Search)
- Search bar to find recipes via Edamam API
- Display search results in grid with thumbnails and quick stats
- "Import Recipe" button on each result
- Save imported recipes to My Recipes
### 3. Meal Planning
- Weekly calendar view (7 days)
- Three meal slots per day: Breakfast, Lunch, Dinner
- Dropdown to assign recipes to meal slots
- "Generate Shopping List" button
### 4. Shopping List
- Auto-generate from selected recipes or planned meals
- Ingredients categorized: Produce, Dairy, Meat, Pantry, Other
- Checkboxes to mark items as purchased
- Show which recipes each ingredient is from
### 5. Pantry Planner
- Manage pantry inventory
- "What Can I Cook?" feature to match pantry items against saved recipes
- Show partial matches with percentages
## Data Schema
[Full TypeScript interfaces for Recipe, Ingredient, PantryItem, ShoppingListItem, MealPlan]
## Critical UI Requirements
Recipe Detail Modal Structure:
- Hero section: Full-width image with dark gradient overlay
- Content section: Solid white background with NO image bleed-through
- Title and tags overlaid on hero with white text
- Stats, ingredients, and instructions on white background below
[Additional implementation details, API integration specs, and localStorage structure]The key was being specific. Not just listing features, but explaining data structures, UI requirements (including that critical modal structure to prevent CSS issues), and API integration details.
Claude Code generated the foundation, but I also added features iteratively. When the initial recipe search felt limited, I switched from Spoonacular to Edamam API for its better free tier (10,000 requests/month vs 150/day).
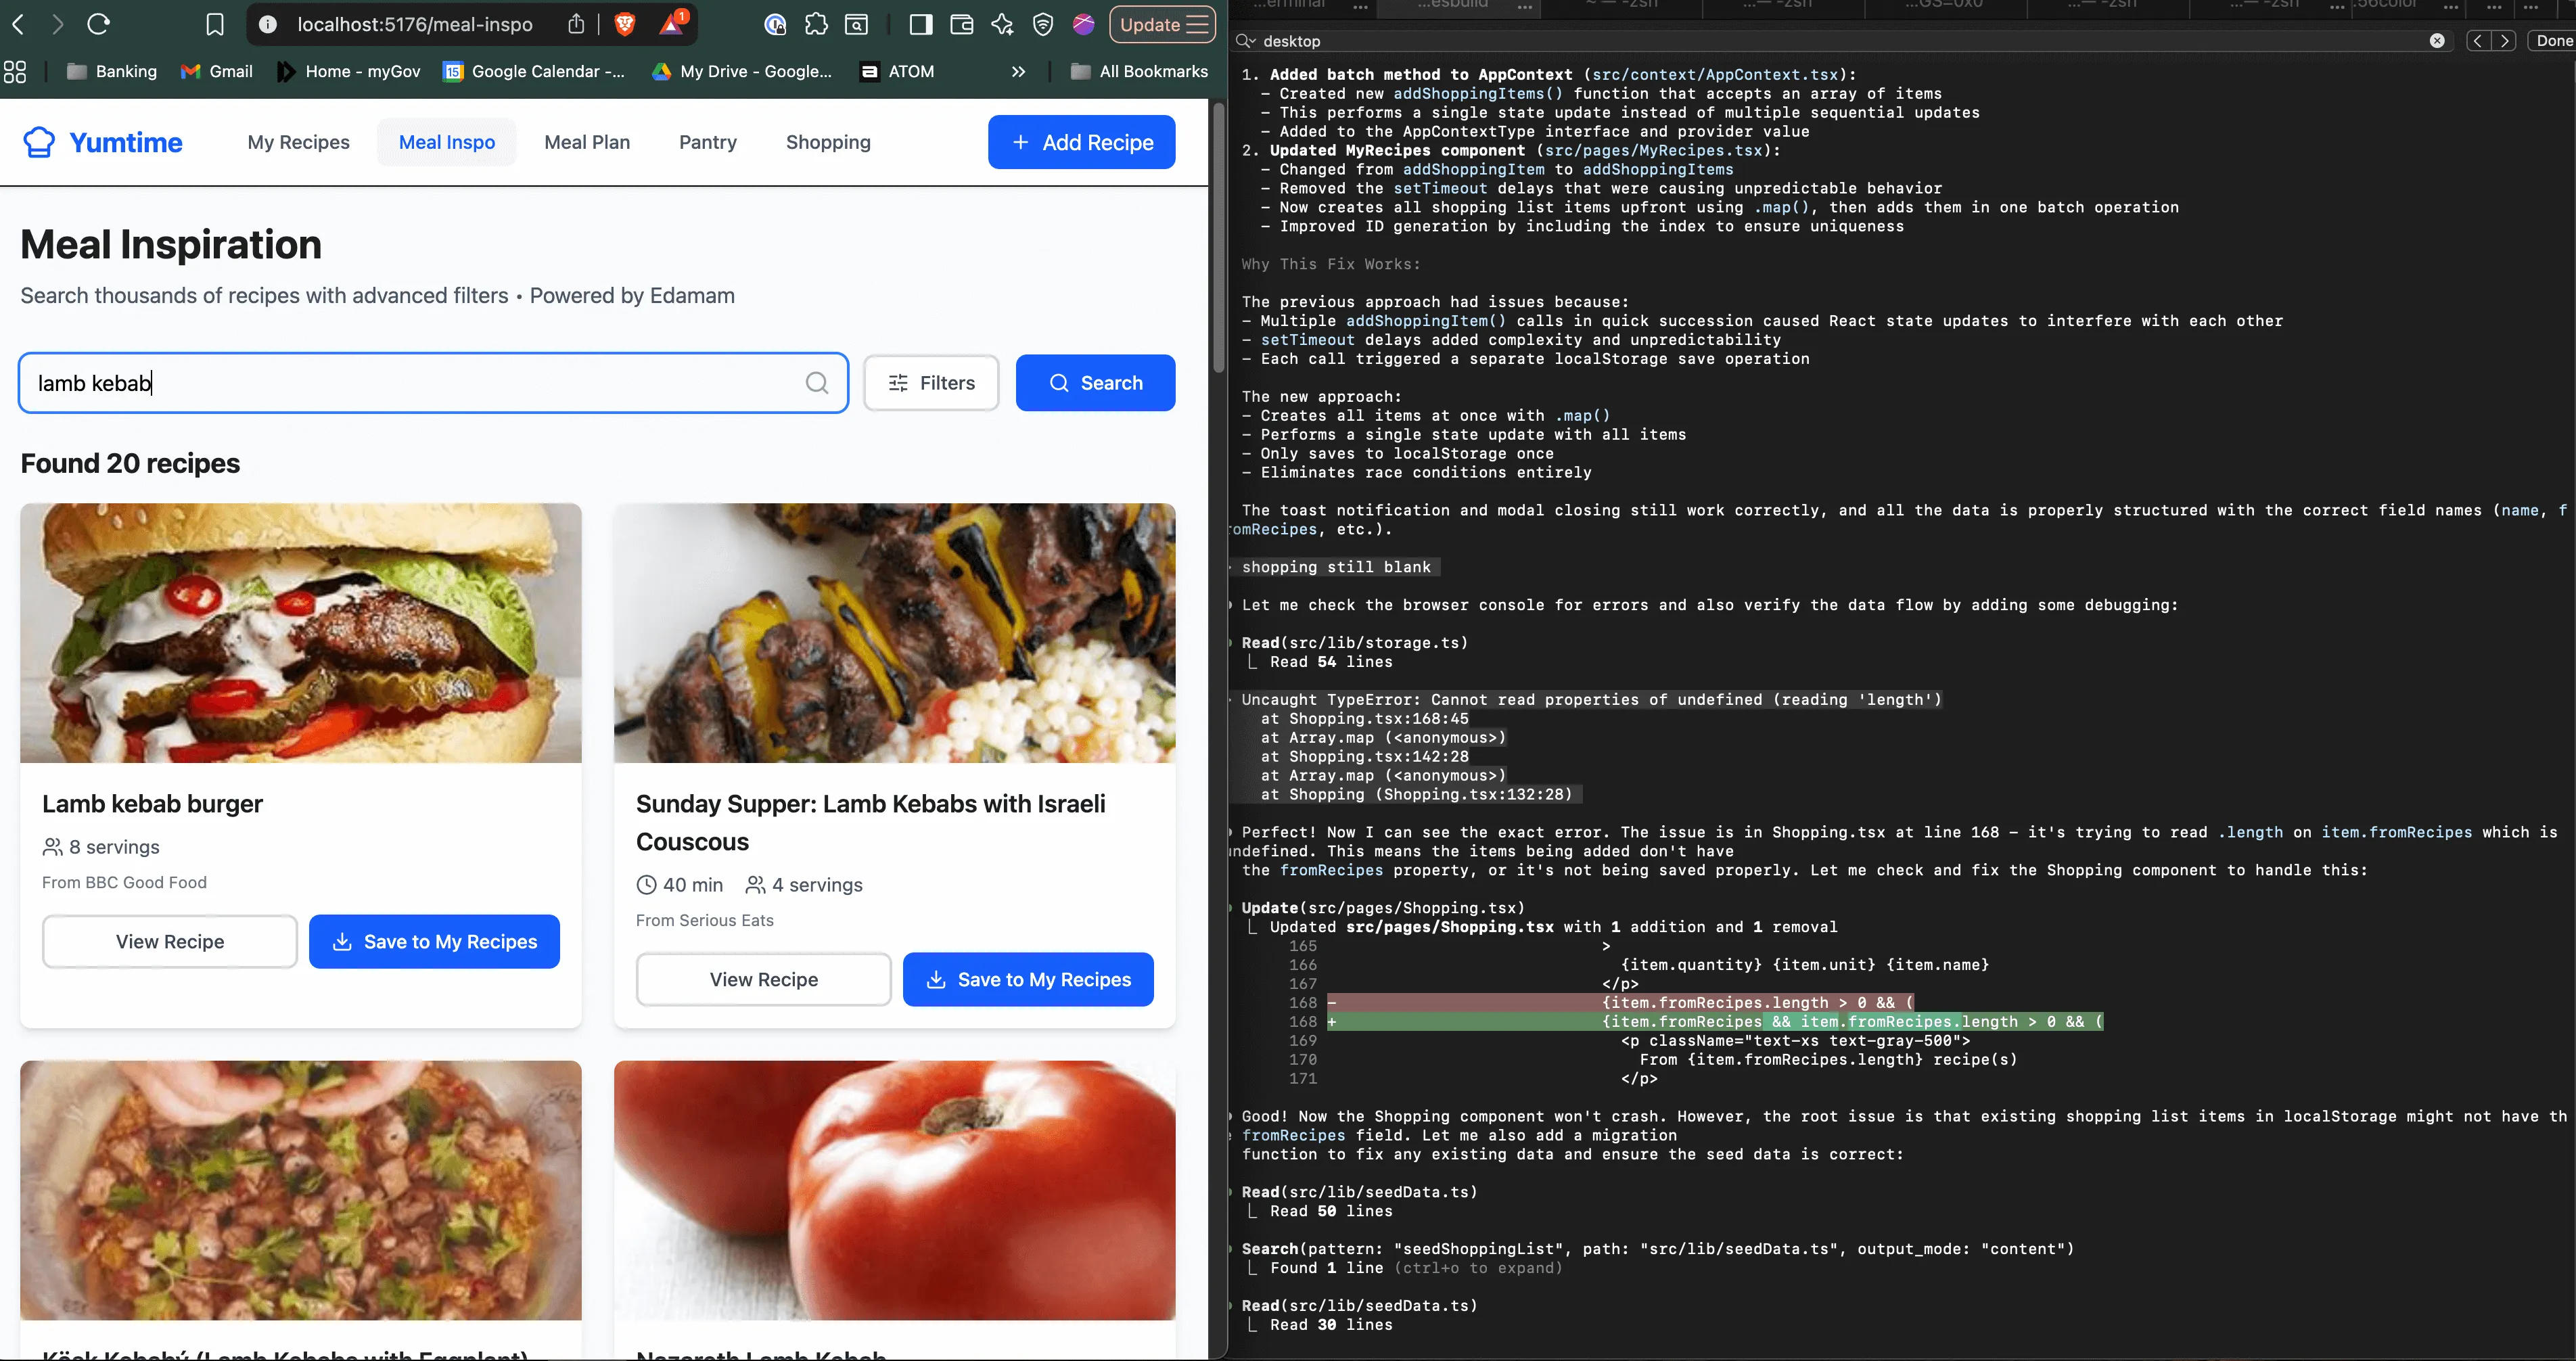
Phase 5: Intentional Debugging
When issues arose, I focused on understanding why before asking for fixes.
What’s causing this error? Why is the CSS behaving this way? What’s the underlying technical issue?
This approach prevents endless iteration loops. By diagnosing the problem properly, I could provide Claude with the right context to solve it efficiently. No guesswork, just targeted problem-solving.
Phase 6: Deployment
Once everything worked locally, I pushed to GitHub and deployed on Vercel.
What I Learnt About Vibe Coding
Vibe coding gets you moving fast, but context engineering keeps you moving in the right direction. The combination of rapid prototyping with intentional collaboration is powerful for non-technical builders.
You don’t need to be a developer to build products. You need to be a thoughtful collaborator who knows when to ask “why” and how to structure information for the best results.
Tech Stack: React, TypeScript, Vite, Tailwind CSS, shadcn/ui, localStorage
Tools Used: Claude (chat + Code), Reforge Build, Unsplash MCP, Edamam API
Git Repo: https://github.com/alipinch93/yumtime
Live Demo: https://yumtime.vercel.app/ (Disclaimer: It’s scrappy, but hey—that’s vibe coding for you)